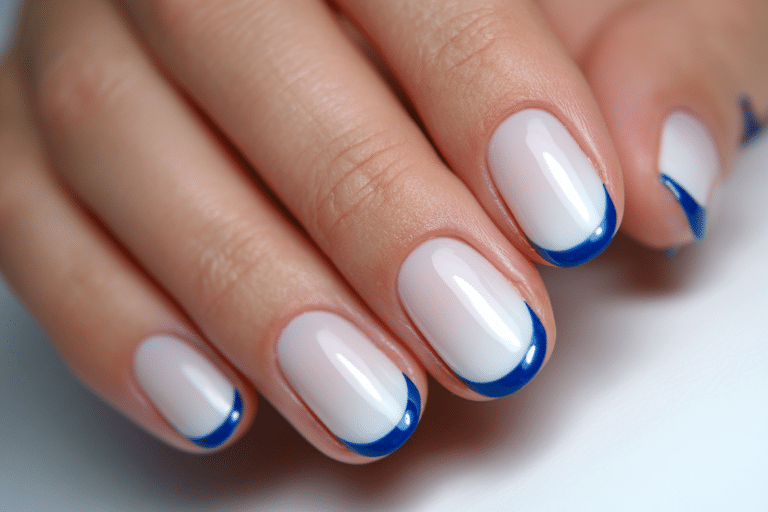

My First DIY Gel Nails Attempt… And Why I Kept Going
I’ll never forget the first time I tried to figure out how to do gel nails at home. I had just bought a budget-friendly kit online and thought it would be simple. Spoiler: it wasn’t. I ended up with sticky layers, uneven polish, and nails that started peeling after two days. I was frustrated but also fascinated.
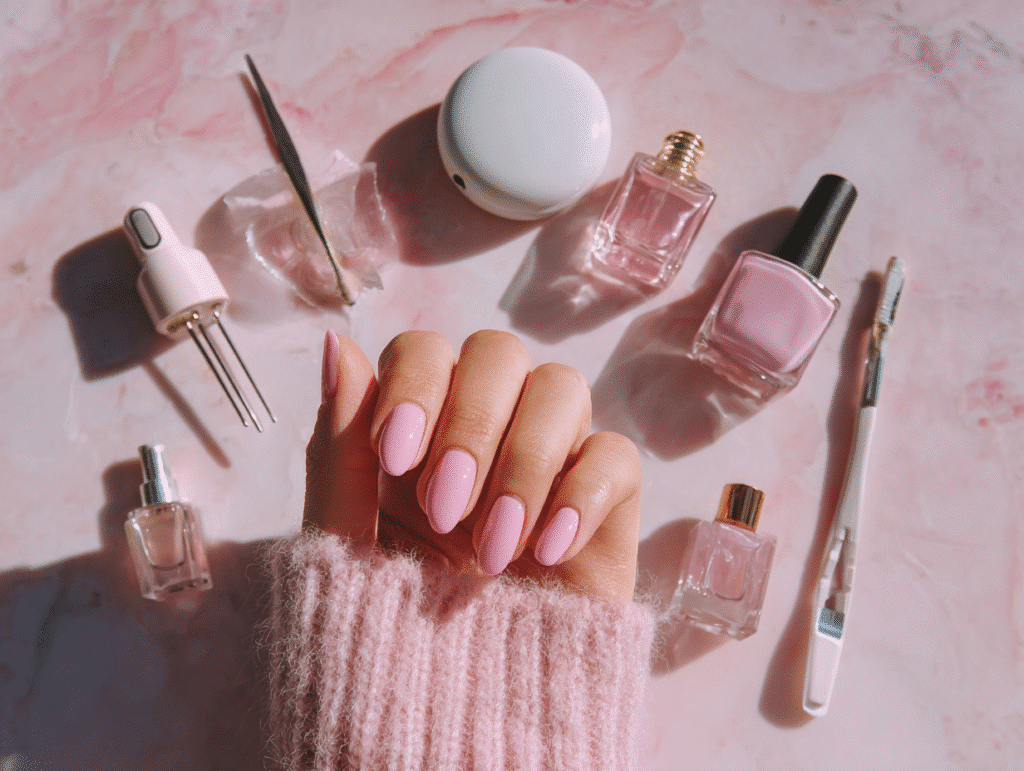
Despite the mess, something about creating my own manicure felt empowering. So I kept trying, learning step by step. Now, I’ve perfected my technique, and I’m here to help you avoid my mistakes and learn how to do gel nails at home the right way easily, affordably, and with beautiful results.
Table of Contents
Why Learning to Do Gel Nails at Home Matters
Doing gel nails at home isn’t just a fun hobby it’s a smart skill that can:
- Save you hundreds of dollars a year
- Let you change your style whenever you want
- Give you full control over your nail health
- Be a relaxing, creative self-care ritual
And once you get the technique down, it’s so satisfying to look at your perfect, glossy nails and think, “I did that.”
Step-by-Step: How to Do Gel Nails at Home (Even as a Total Beginner)
What You’ll Need:
- Nail file + buffer
- Cuticle pusher
- Lint-free wipes
- Nail cleanser or rubbing alcohol
- Base coat
- Gel polish color
- Top coat
- UV or LED lamp (36W+)
- Optional: dehydrator + primer
Step-by-Step: How to Do Gel Nails at Home (Even as a Total Beginner)
What You’ll Need:
- Nail file + buffer
- Cuticle pusher
- Lint-free wipes
- Nail cleanser or rubbing alcohol
- Base coat
- Gel polish color
- Top coat
- UV or LED lamp (36W+)
- Optional: dehydrator + primer
1. Prep Your Nails
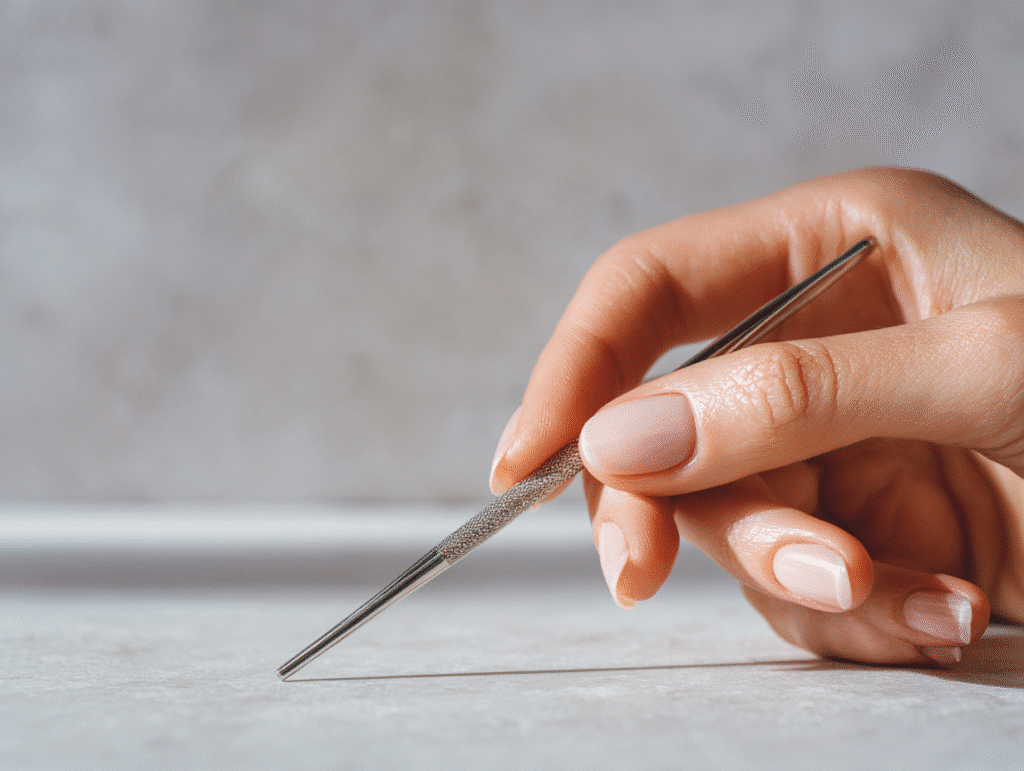
Gently file your nails to shape and lightly buff the surface. Push back your cuticles and remove any dead skin around the nail bed. Clean nails with rubbing alcohol or cleanser to remove oils.
2. Apply Dehydrator and Primer (Optional but Recommended)
If you struggle with chipping or lifting, apply a nail dehydrator and a non-acid primer to help the gel stick better.
3. Apply a Thin Base Coat
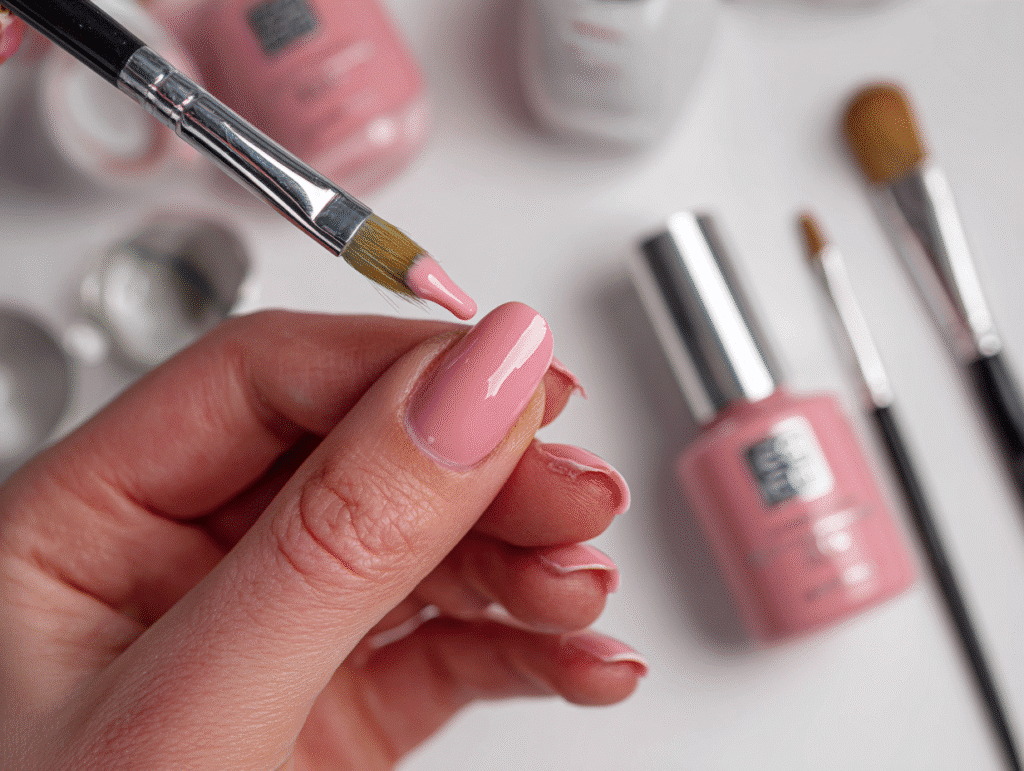
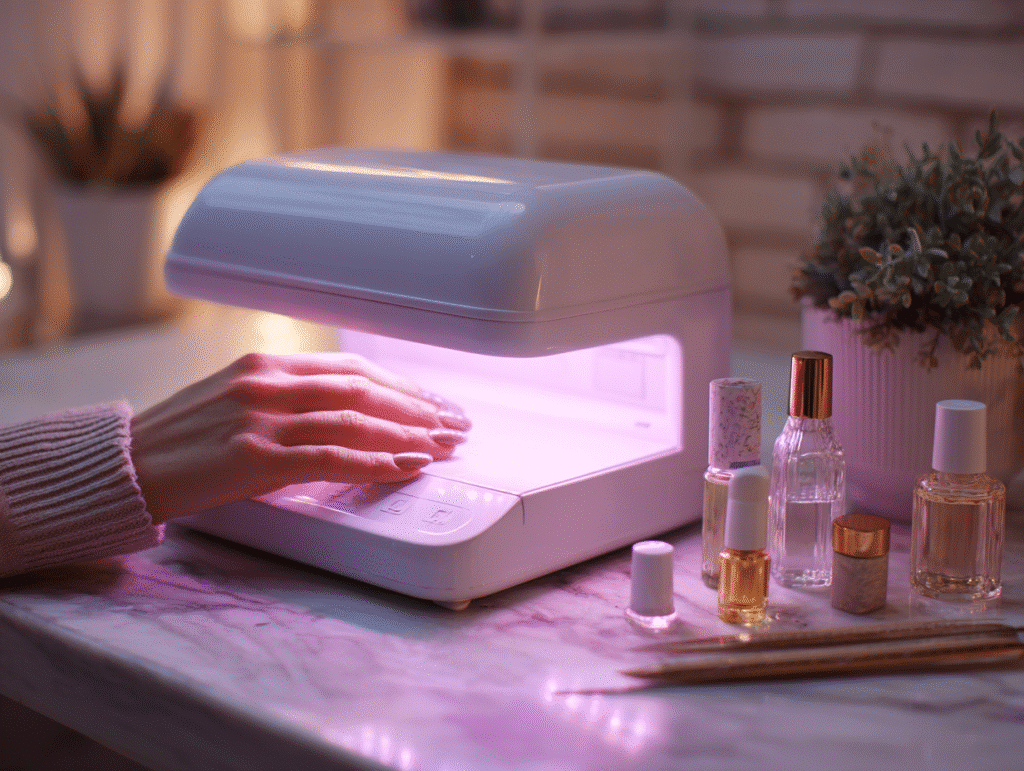
Apply a very thin layer of base coat to each nail. Avoid getting it on your skin or cuticles. Cure under the lamp (usually 30–60 seconds, depending on your lamp type).
4. Apply Gel Color – In Thin Layers
Apply your first thin coat of color. Cure. Repeat for 1–2 more coats depending on opacity. Remember: thin is better to avoid bubbling.
5. Seal with Top Coat
Apply your top coat and cure. Wipe off the sticky layer with alcohol if your top coat isn’t “no-wipe.”
6. Moisturize & Admire Your Work
Finish with cuticle oil and hand cream. Take a moment to appreciate your fresh, glossy mani you earned it!
Want to take your summer nail game even further? Check out our latest post on Summer 2025 Toe Nail Polish Ideas featuring bold colors, floral accents, and French tips perfect for your next beach-ready pedicure.
Gel Manicure Steps: Simple Breakdown for Beginners
If you’re still unsure where to start, here’s a fast breakdown of the gel manicure steps to follow:
- Shape and prep the nails.
- Apply dehydrator and primer (optional but helpful).
- Paint a thin layer of base coat.
- Apply 2–3 thin coats of color gel, curing each time.
- Add a glossy top coat and cure.
- Wipe residue (if needed), moisturize, and you’re done!
This simple gel manicure sequence is what I use every time.
DIY Gel Nails: What You Need to Know Before You Start
Doing DIY gel nails isn’t just about technique it’s also about mindset and setup. Before your first at-home manicure, make sure you have a clean space, a distraction-free hour, and the patience to learn. Start with short nails to avoid chipping, and choose lighter colors for easier clean-up. Remember: your first try doesn’t have to be perfect. Every manicure gets better!
How to Apply Gel Nails Properly for a Smooth, Long-Lasting Finish
The key to applying gel nails that don’t peel, bubble, or chip is patience and thin layers. Don’t overload the brush, and always keep polish off your skin. Cure each coat under a proper lamp, and avoid shortcuts. Let the polish cool for a few minutes after your final cure before applying oils or lotion.
Gel Nails for Beginners: Tools, Tips & First-Time Advice
If you’re brand new to gel nails, focus on mastering the basics: don’t skip prep, avoid thick coats, and invest in a decent lamp. You don’t need the most expensive kit to get salon-like results at home. Practice with neutral shades, work in natural light, and don’t worry if it takes 2–3 tries to feel confident.
Common Mistakes to Avoid When Doing Gel Nails at Home
Even if you know how to do gel nails at home, there are a few beginner mistakes that can ruin the final look or worse, damage your nails.
Applying thick layers
Gel polish must be applied in thin, even layers. If it’s too thick, it will wrinkle under the lamp or never cure properly.
Skipping nail prep
Prepping your nails isn’t optional. Skipping buffing, cuticle care, or cleansing can cause the gel to lift within days.
Touching your skin
If gel touches the skin or cuticle during application, it can lead to peeling and discomfort. Always clean the edges before curing.
Under-curing or over-curing
Follow the exact timing recommended for your lamp and polish. Under-curing leads to chipping, while over-curing causes brittleness.
How to Maintain Your Gel Nails at Home
Knowing how to do gel nails at home is only part of the journey maintaining your manicure properly is what makes it truly last.
Maintenance Tips:
- Moisturize daily with cuticle oil to keep your nails and surrounding skin hydrated.
- Avoid using nails as tools (don’t open cans or peel stickers with them).
- Wear gloves when cleaning or washing dishes to protect your gel.
- Apply a fresh layer of top coat after 5–7 days to extend the shine and durability.
Taking these steps will keep your DIY gel manicure looking salon-fresh even longer and help you get the most out of your hard work.
If you’re looking for even more gel nail inspiration, head over to my Pinterest board Gel Nails by Lina it’s packed with seasonal designs, color combos, and easy tutorials you can try at home.
Trending Now: Gel Nails Summer 2025
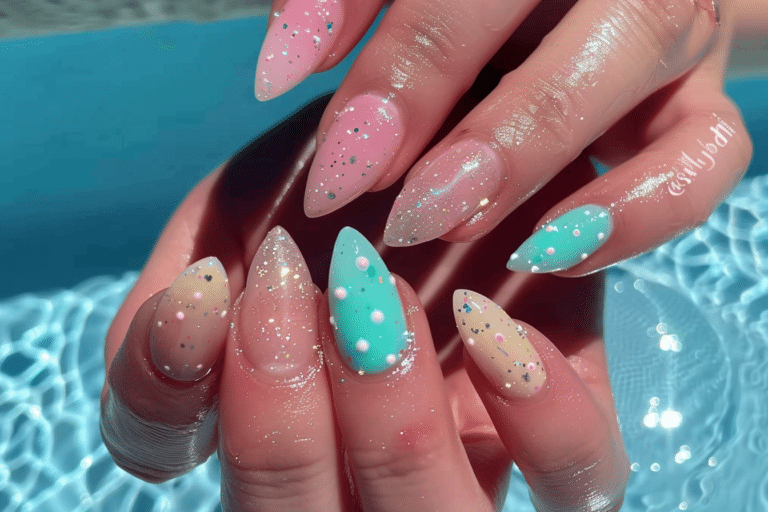
Thinking of trying a gel manicure this summer? Gel nails for summer 2025 are all about pastel tones, glossy finishes, and playful accents like flowers and glitter. Whether you’re planning a beach trip or just want a long-lasting look, gel nails are the perfect summer accessory.
Looking for inspo? Check out Summer Toe Nail Polish Ideas 2025 for trendy shades, French tips, and floral patterns.
Final Thoughts: You Can Do Gel Nails at Home
Learning how to do gel nails at home is one of those skills that’s both practical and empowering. It may feel intimidating at first but once you master the basics, it becomes second nature. From saving money to expressing your personal style, doing your own gel nails gives you full control over your beauty routine.
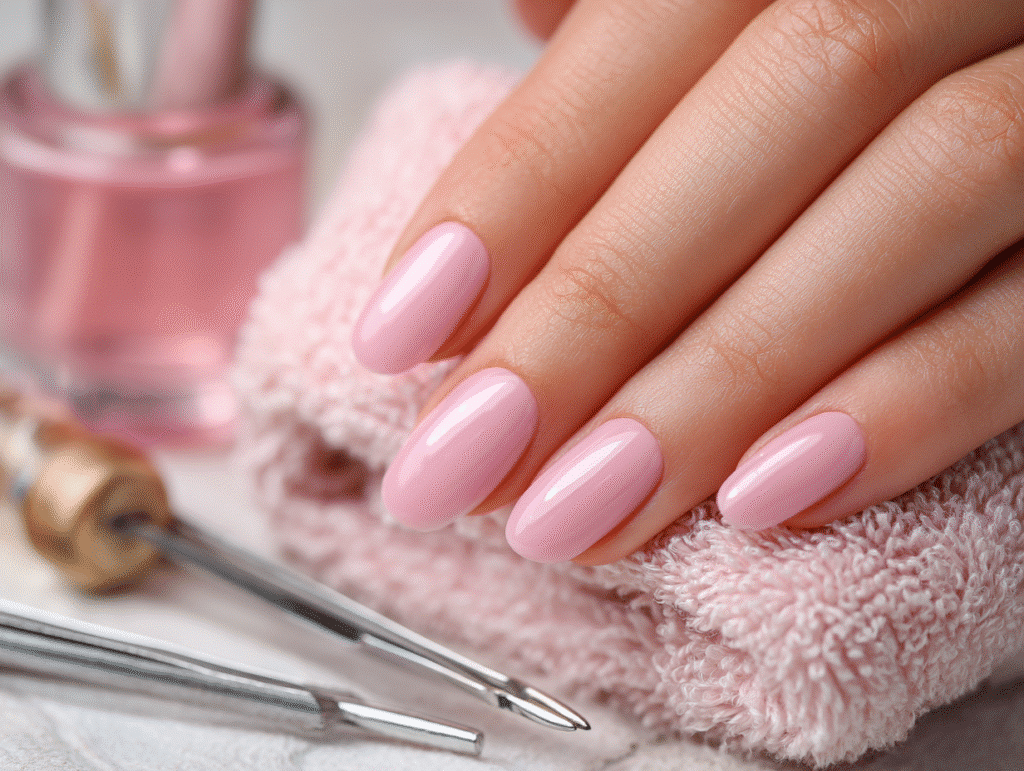
Now that you’ve seen exactly how to do gel nails at home step by step, you have everything you need to get started. Gather your tools, pick your favorite gel color, and take your time your perfect DIY manicure is just a few brush strokes away.
Tried it already? I’d love to hear how your first at-home gel nails turned out. Drop a comment below or tag me on social to share your results!
Pin this guide for later visit my Pinterest profile Gel Nails by Lina to save all your favorite DIY gel manicure ideas in one place!
FAQs About DIY Gel Nails
How long do gel nails last at home?
If applied properly, they can last 10–14 days or more without chipping.
Can I use regular nail polish under a gel top coat?
No—it won’t cure properly and may cause peeling. Use only gel polish for a gel manicure.
Do I need a UV or LED lamp?
Yes. Gel polish won’t dry in the air it needs light to cure. LED is faster, but UV works too.
Can I remove gel without acetone?
You can try peel-off base coats or steam removal kits, but acetone is the most effective at home.
Can I do gel nails at home without a professional kit?
Yes! As long as you have the essentials a lamp, base coat, color gel, and top coat you can learn how to do gel nails at home affordably. Many starter kits are beginner-friendly and come with everything you need to get started.